Sitemap Content Feed
Import content pages from your website's sitemap. AI automatically identifies FAQ, shipping info, blog posts, and other useful pages.
What is a Content Feed?
A content feed imports informational pages from your website — not products, but pages like FAQ, shipping policy, return instructions, blog posts, and other useful content. The AI chatbot uses this knowledge to answer customer questions that go beyond product recommendations.
Without a content feed, the AI only knows your product catalog. It can recommend products, but it cannot answer "What are your shipping costs?" or "How do I return an item?" — because it simply does not have that information.
A sitemap content feed is the easiest way to give the AI access to all your informational pages. You provide your sitemap URL, and AI does the rest.
Creating the Feed
Go to Feeds and add a new feed
In the sidebar menu, click Feeds, then click the "Add new feed" button.
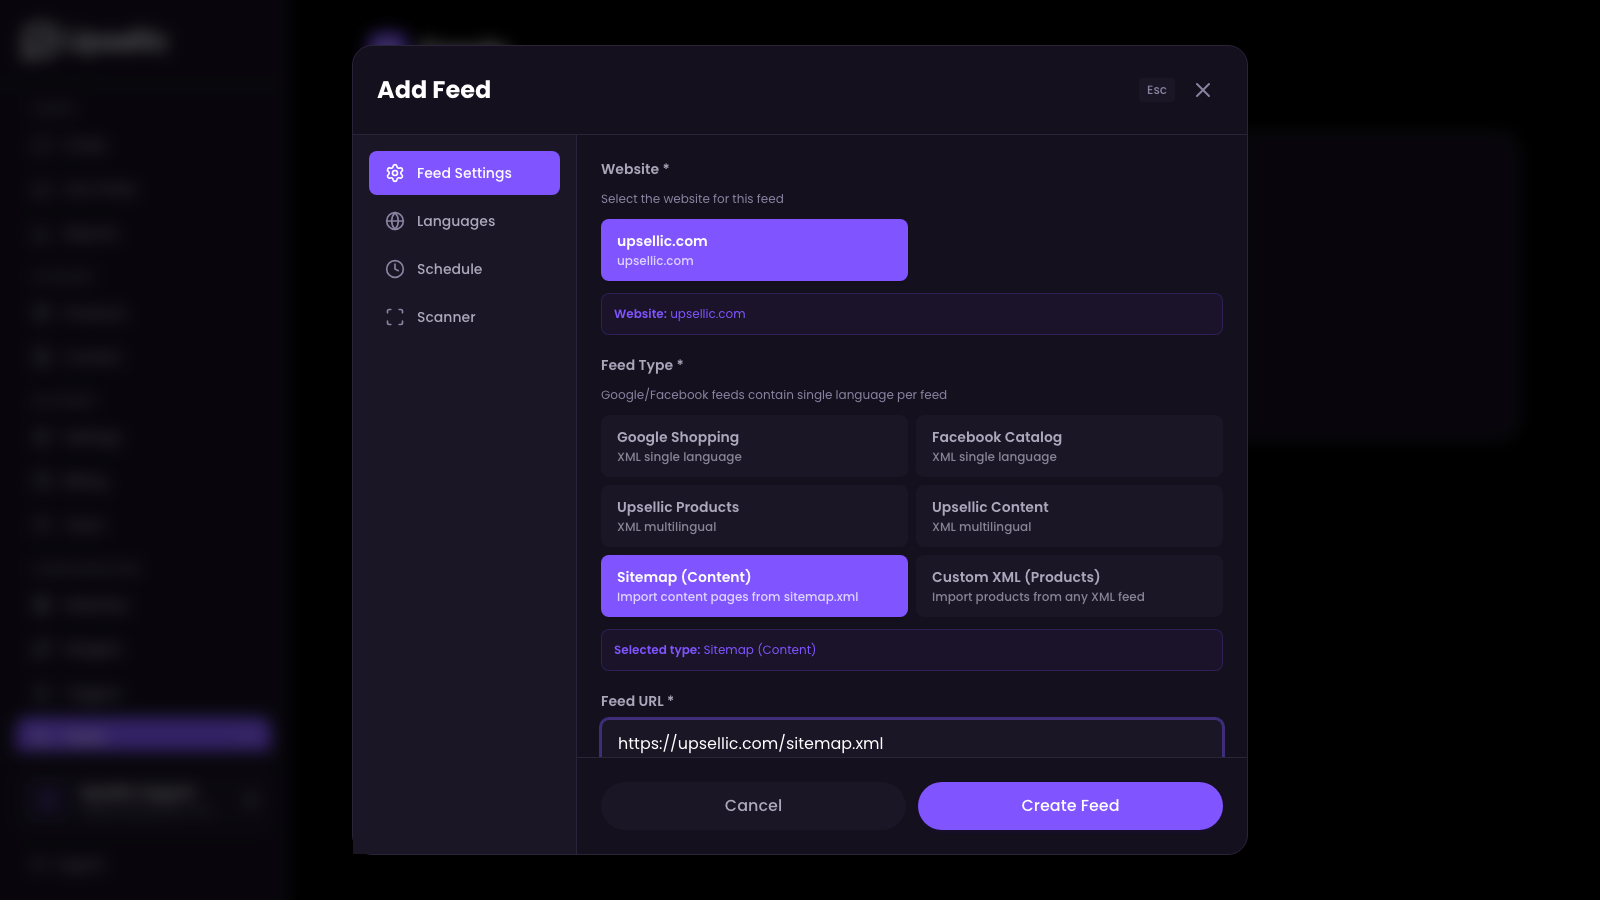
Select "Sitemap" as the feed type
Enter a name for the feed (e.g. "Content — My Store"), select the website, and choose Sitemap as the feed type.
Enter your sitemap URL
Paste the URL to your website's sitemap (e.g. https://yourstore.com/sitemap.xml). Most e-commerce platforms generate a sitemap automatically — check your store's documentation if you are unsure where to find it.
Most websites have a sitemap at /sitemap.xml. If your sitemap is split into multiple files (a sitemap index), Upsellic will automatically follow all sub-sitemaps and collect URLs from each one.
Selecting Content Pages
Go to the Scanner tab
After saving the feed settings, switch to the Scanner tab. This is where Upsellic scans your sitemap and identifies content pages.
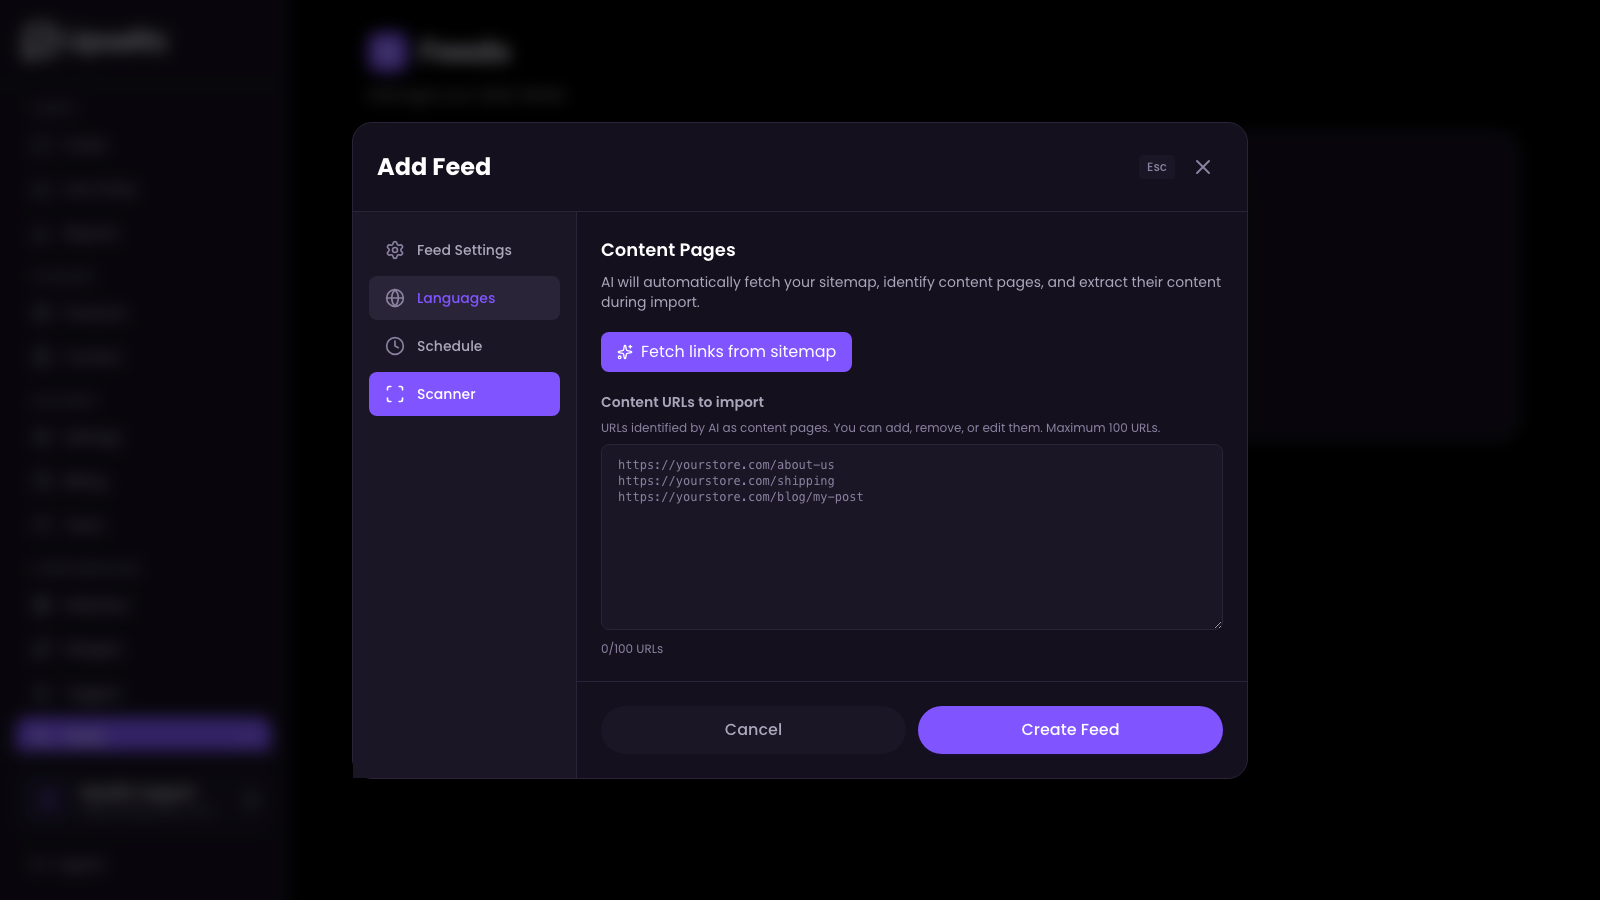
Click "Fetch links from sitemap"
Upsellic will download your sitemap, extract all URLs, and send them to AI for classification. The AI analyzes each URL path and identifies which pages contain useful content — FAQ, blog posts, shipping information, return policies, about us pages, and more.
Review the detected content pages
After analysis, the Scanner tab displays a list of detected content page URLs in a text area, along with a count of how many pages were found.
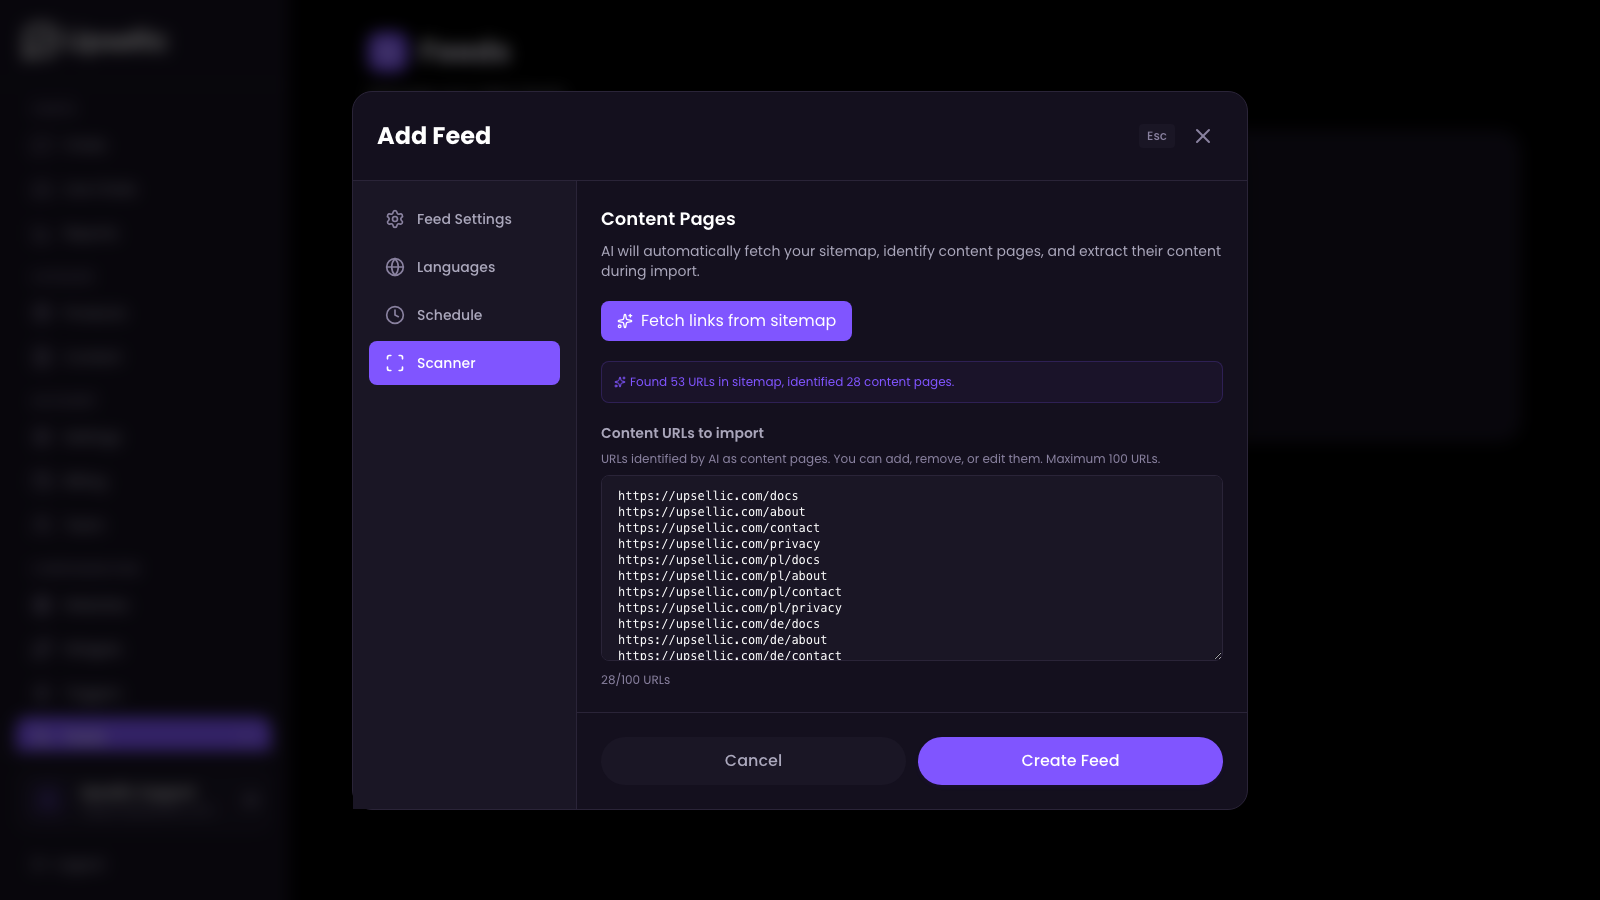
Edit the URL list if needed
You can manually add, remove, or edit URLs in the text area. For example, if AI missed an important page or included one you do not want, simply adjust the list.
AI automatically filters out product pages, category pages, login pages, and other non-content URLs. Only pages likely to contain useful informational content are selected. The maximum is 100 URLs per feed.
How AI Processes Content
During import, Upsellic processes each URL in the list through several steps:
Page fetching
The system visits each URL and downloads the full HTML of the page.
Content extraction
Scripts, navigation menus, headers, footers, sidebars, and other non-content elements are stripped away. Only the clean text content of the page remains.
AI content analysis
AI (Claude Haiku) reads the extracted text and identifies the page title and main content. This is fully automatic — no CSS selectors or manual configuration needed.
Page classification
AI assigns a content type to each page based on its content: FAQ, Shipping, Returns, About Us, Contact, Blog, Privacy Policy, Terms & Conditions, and more.
Content types are assigned automatically, but you can change them later in the Content section of the dashboard if the AI made a mistake.
Language & Schedule
Select the source language
In the Languages tab, select the language of the content on the pages. This tells the AI what language to expect and ensures correct processing.
Set up auto-import schedule
In the Schedule tab, configure when Upsellic should re-import content automatically. You can set specific times (GMT) for daily, weekly, or custom schedules.
Content pages change much less often than product data. A daily or weekly sync is usually more than enough. Frequent imports are unnecessary and waste processing resources.
After Import
View imported content
After the import finishes, go to Dashboard → Content to see all imported pages. Each item shows its title, URL, and assigned content type (FAQ, Shipping, Contact, etc.).
AI starts using the content immediately
Once imported, the AI chatbot can answer questions based on your content pages. For example, if a customer asks "What are your shipping costs?", the AI will find your shipping page and quote the relevant information.
Control what appears in chat
You can disable specific content types from appearing in chat responses via the widget's Content Display settings. The AI will still have access to the knowledge, but it will not link to those pages directly.
After the first import, test your chatbot by asking questions about shipping, returns, or FAQ topics. This is the best way to verify that content was imported and classified correctly.